Creating a new remote activation
For more information, contact Loftware sales.
When you create a new remote activation, you connect your remote Control Center to your Loftware Cloud account. By connecting, you remotely activate your Loftware Cloud product. The remote activation happens in your cloud Control Center and your remote Control Center.
To create a remote activation:
-
Remotely connect your Control Center
-
A. Scan the QR code (recommended) or
-
Download and install Control Center
To start your remote activation, first download your remote Control Center from your cloud Control Center:
-
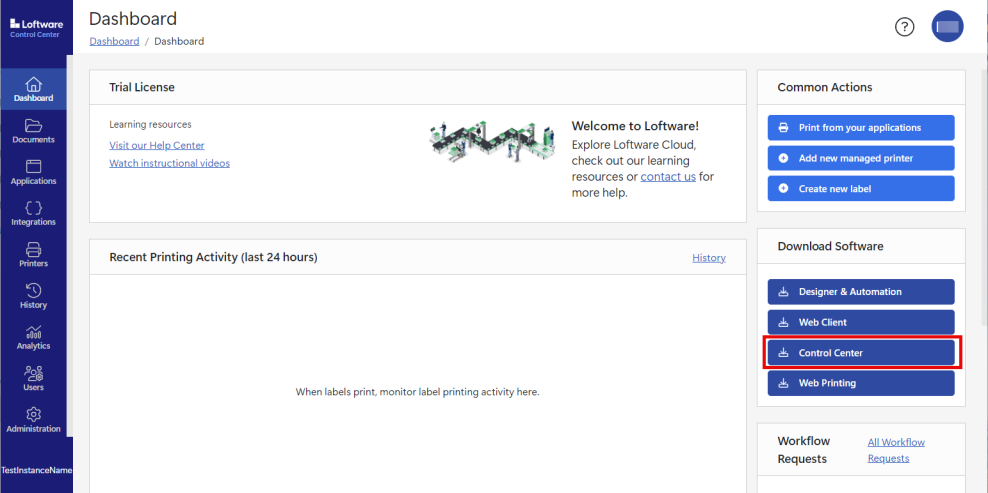
Go to your cloud Control Center > Dashboard. From the Download Software section, click Control Center.
-
When your download completes, go to the Downloads folder on your computer and run the Loftware Control Center installation (.exe) file. For detailed instructions on installing Control Center, see Control Center On-Premises Installation and Activation.
Remotely connect your Control Center
-
Go to your remote Control Center. Enter your Control Center domain, and click No internet connection? Continue with remote activation..
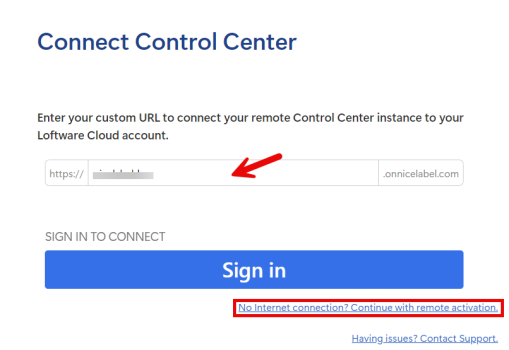 The link to continue becomes active after you enter your Control Center domain (customer prefix).If you click Sign in, you will continue to your cloud Control Center.
 -
The Remotely Connect Control Center window opens. Continue by scanning the QR code on your screen with your mobile device or tablet, or clicking the Download Activation token link.
A. Scan the QR code
- Scan the QR code on your screen with your mobile device or tablet.
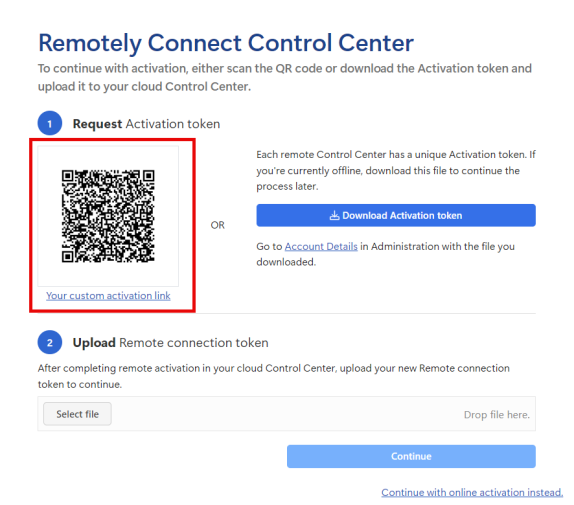 Activation token is used for user authentication and software activation.
 - On your mobile device or tablet, sign in to your cloud Control Center.
Continue to Configure your remote activation.
B. Click the download link
-
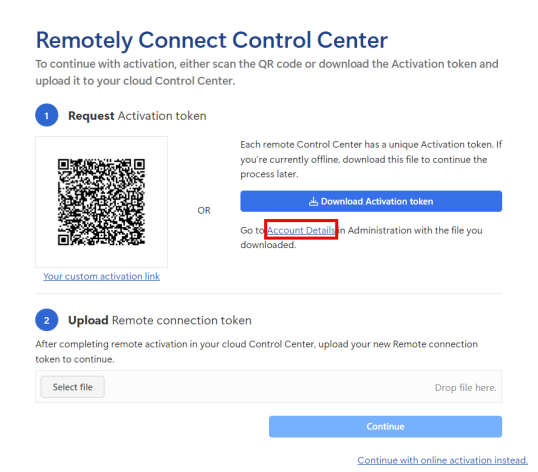
Click Download Activation token.

The Activation token is used for user authentication and software activation. The user gets it from the remote Control Center and uploads it to cloud Control Center.
-
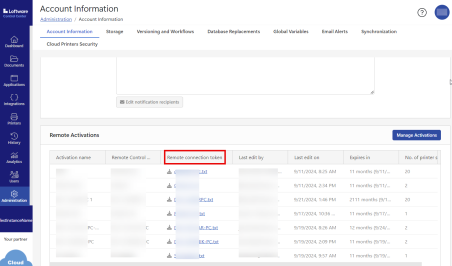
Click the Account details link, or go to cloud Control Center > Administration > Account information.
-
The Account Information page opens. In the Remote Activations section, click Manage Activations.
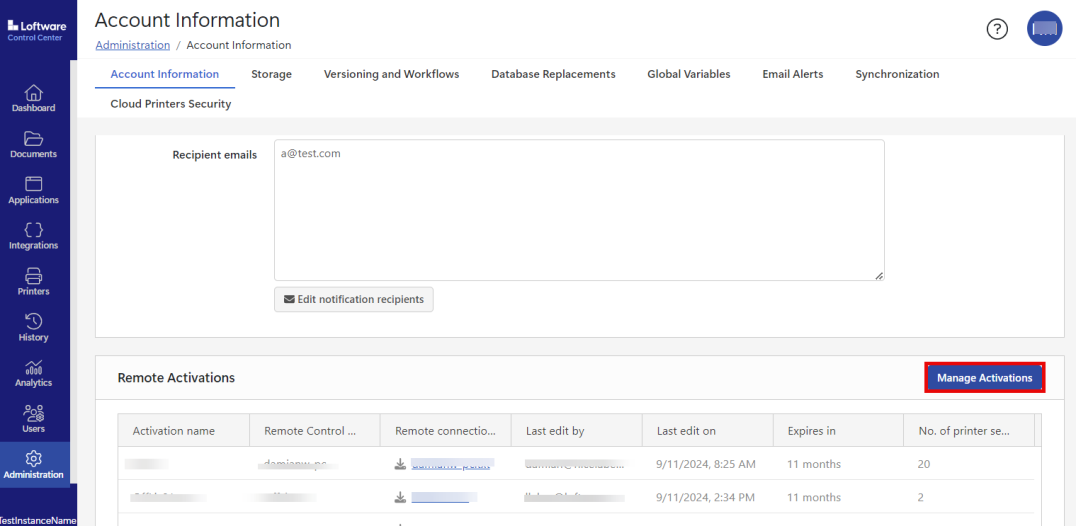 Depending on your product level or access role, you can see all remote activations in the Remote Activations section. See more about Access Roles.
 -
The Manage Remote Activation window opens. To create a new remote activation, click Add new.
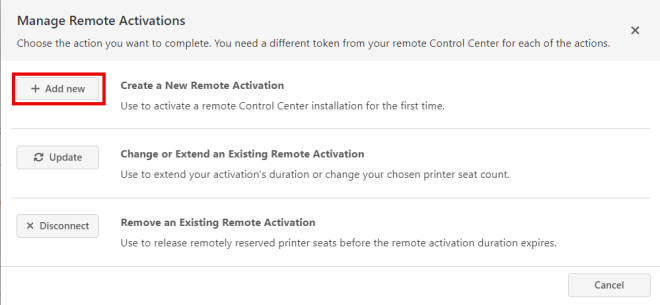 To learn more about the Update and Disconnect buttons, see Updating or changing remote activation and Disconnecting remote activation.
 -
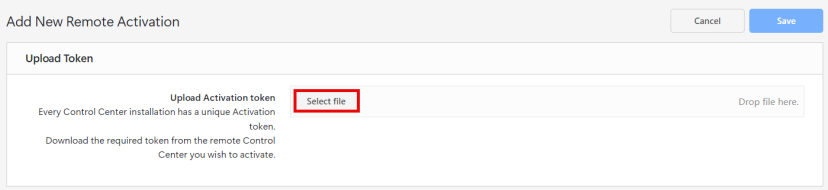
The Add New Remote Activation page opens. Upload your Activation token (see step 1).
When your token successfully uploads, you get a notification on your screen.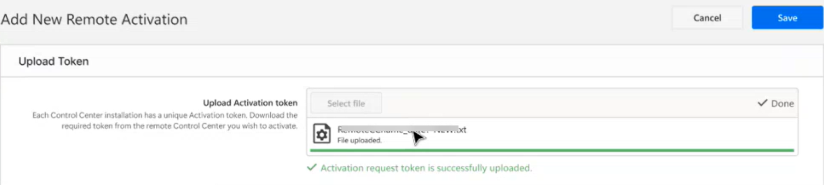 You can't upload a token from an active remote activation. You have to upload your unique activation token. If you lose your activation token, you can download it again (see step 1).
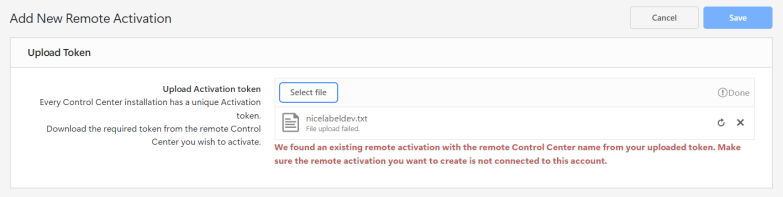
- Scan the QR code on your screen with your mobile device or tablet.
Continue to Configure your remote activation.
Configure your remote activation
-
Add New Remote Activation page opens. You can now configure your remote activation. When you finish your configuration, click Save to continue.
After you click Save, you can't edit the configuration. To change your configuration after you click save, you have to Updating or changing remote activation-
Printer seats – The number you enter is the number of printer seats you delegate to your remote Control Center.The combined number of printer seats in your remote Control Center and your cloud Control Center equals the number of printer seats you have on your license. If you go over the number of printer seats on your license, you have 30 days to resolve the issue. Read more about Counting printer seats for printer seat-based licensing.
To add more printer seats to your license, contact Loftware sales.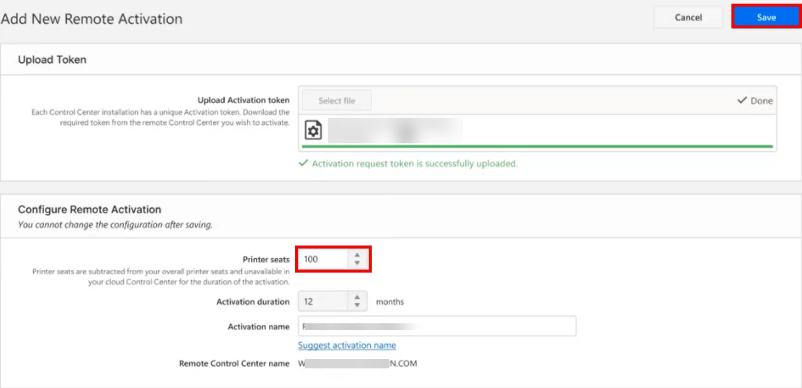
-
Activation duration – You can't configure this field.
-
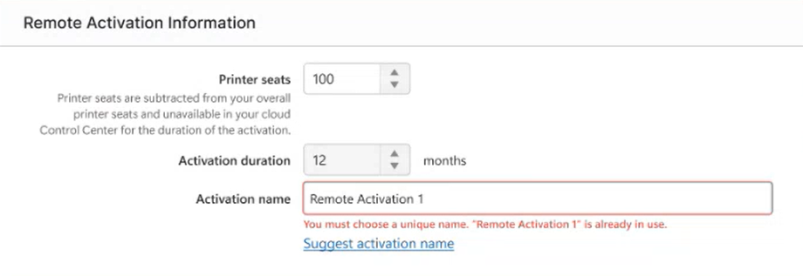
Activation name – Give your activation a unique name or click Suggest activation name. You can't choose an activation name that is already in use.
-
Remote Control Center name – your remote Control Center domain
-
-
After you click Save, the Remote Connection Token page opens. Next, click Remote connection token.
 Remote connection token is not the same as activation token. User gets the remote connection token from the cloud Control Center and uploads it to remote Control Center to finish the remote activation.
 -
Go back to the Remotely Connect Control Center window on your workstation (see step 1 in Remotely connect your Control Center). Upload your Remote connection token. After you successfully upload your remote connection token, click Continue.
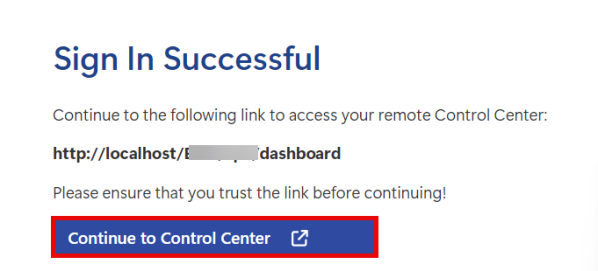
If you accidentally closed your Remotely Connect Control Center window, open your remote Control Center again.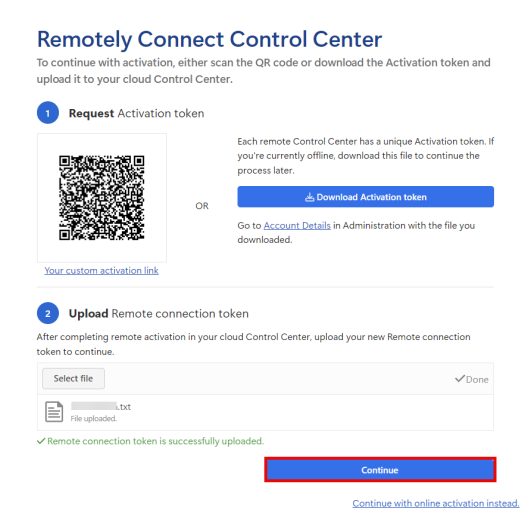
You successfully completed your remote activation. You can now follow the link to your remote Control Center and start working offline.
You can see remote activations in cloud Control Center > History > System. Go to Filters > Audit type, and select License.

Also see: